Windows Autopilot is a solution designed that allows you to set up and pre-configure Windows devices for your environment using Azure and Endpoint Manager. The goal of Autopilot is to reduce the OS deployment complexity. If done correctly, a user logs to an out-of-box computer, logs on his computer with his ADD user account, and applications and configurations get deployed. All that with minimum infrastructure requirements. If you are new to Autopilot, we have a post that describes every step you need to do to get started.
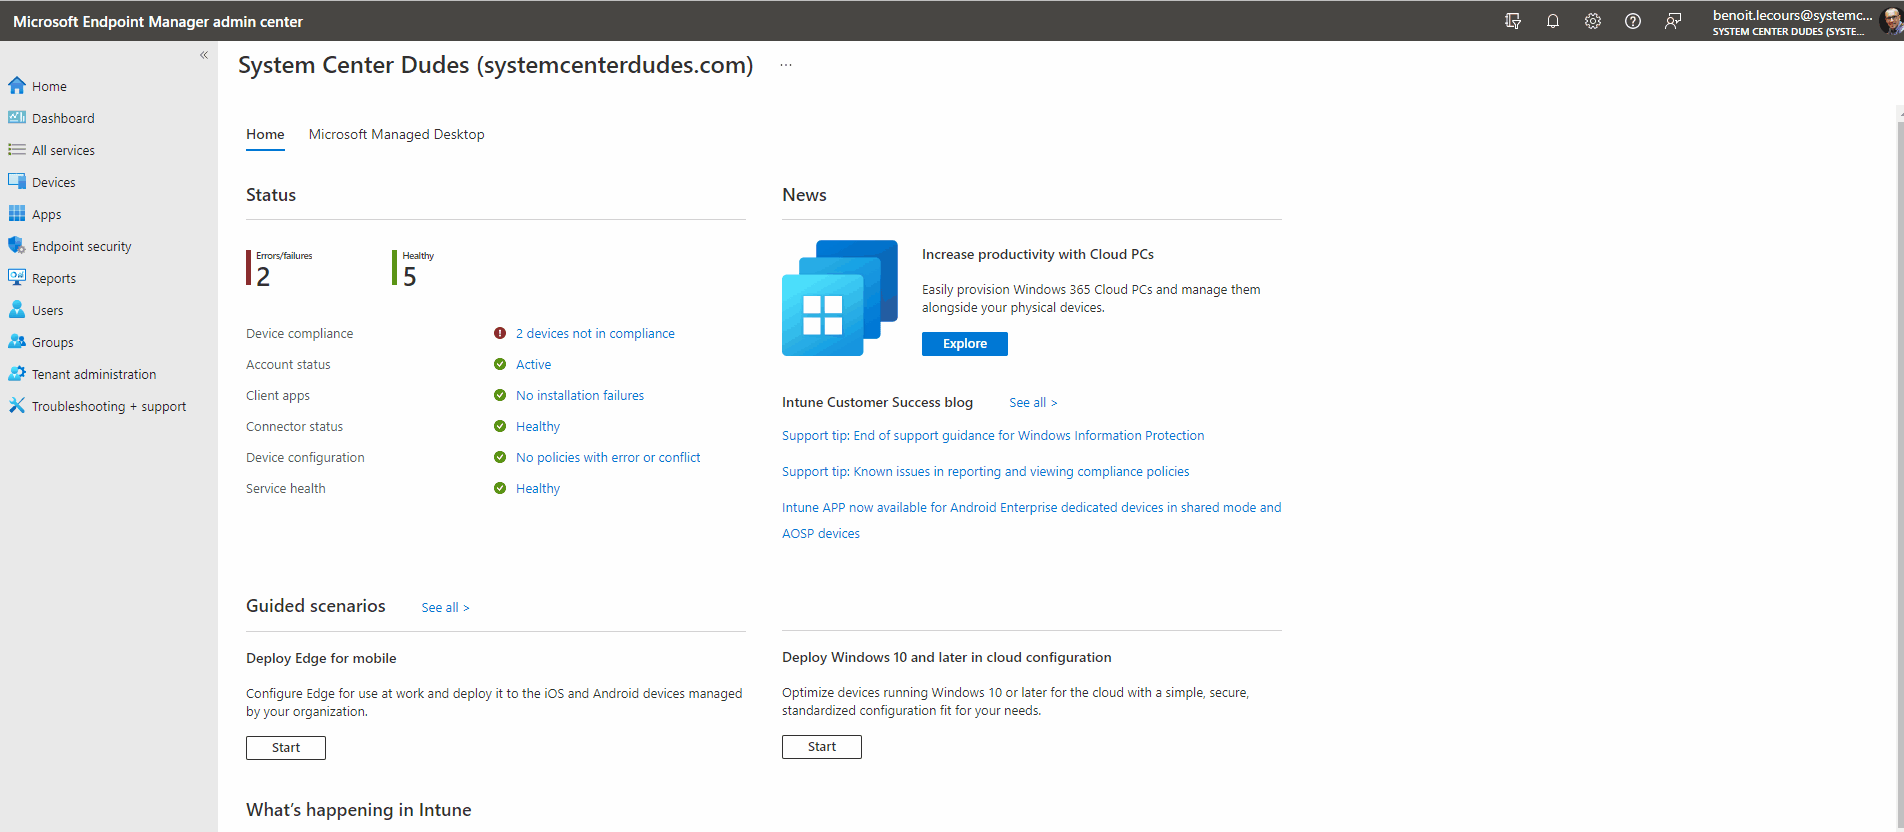
Autopilot has its flaws but it’s improving very fast. One of those flaws was that device importation was made from the Windows Store for Business or the Microsoft Partner Center. Those days are over since you can now import your device directly from Endpoint Manager.
Endpoint Manager Autopilot device import
- Launch Endpoint Manager
- Select Device / Enroll Devices / Windows enrollment
- In the Windows Autopilot Deployment Program pane, select Devices
- Click on Import at the top
From there, you need to select a .CSV file. It’s not possible to import a single device manually.
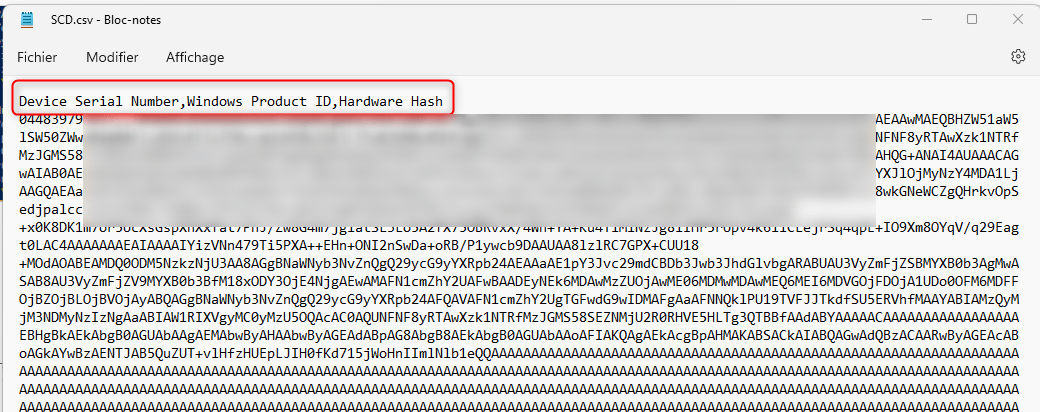
As shown in the portal, the CSV file has some formatting requirements :
The header and line format must look like this:
- <serialNumber>,<ProductID>,<hardwareHash>
- Can have up to 500 rows in the file
This means that you need the Serial Number, Windows Product ID, Hardware Hash separated by a comma. You cannot have more than 500 rows/devices in the CSV.
To get this information for a specific machine, there are a couple of ways :
PowerShell – Endpoint Manager Autopilot device import
There is a script that is already available in Windows to get this information. As long as that device is running a supported version of Windows. You can use this PowerShell script. The required fields will be populated in a CSV file, ready to import into Endpoint Manager
From a Windows 10 1703+ computer
- Start Windows PowerShell as an Administrator
- Run the following command: Install-Script -Name Get-WindowsAutoPilotInfo
- This action places the script into the folder C:\Program Files\WindowsPowerShell\Scripts
- Run the script : Get-WindowsAutoPilotInfo -Outputfile C:\temp\SCD.csv
- The script will output the result in the C:\temp\SCD.csv file
- Open the CSV file, it should look like this :
SCCM / Configuration Manager
If the device is managed by SCCM, you can extract the SerialNumber, ProductID and hardwareHash from a built-in report. All you have to do is to Export the data from the report to a CSV file.
- Go to the Monitoring / Reporting /Reports, / Hardware – General
- Run the report, Windows Autopilot Device Information
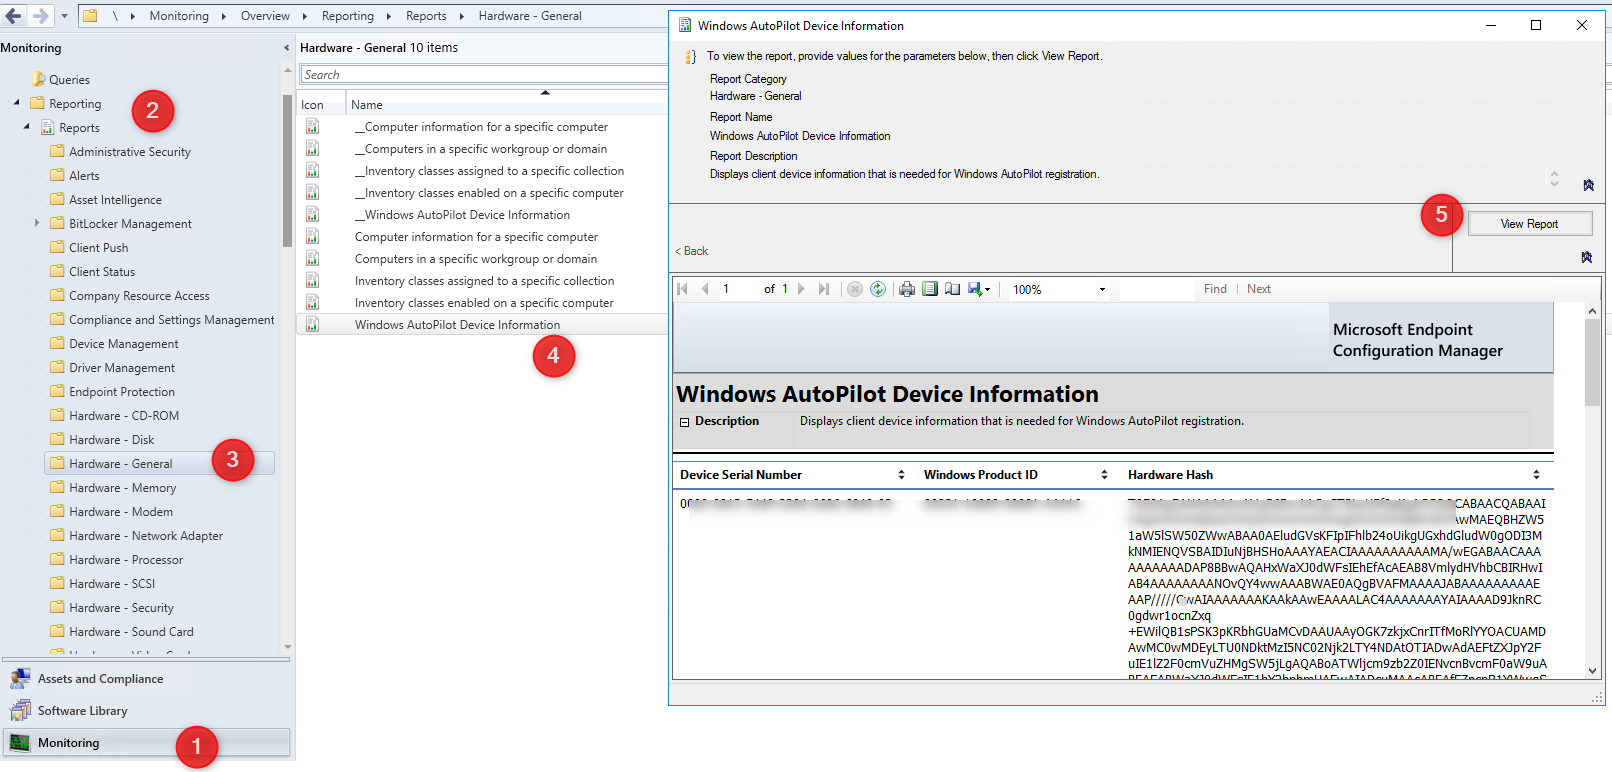
- Select the Export icon, and choose the CSV (comma-delimited) option
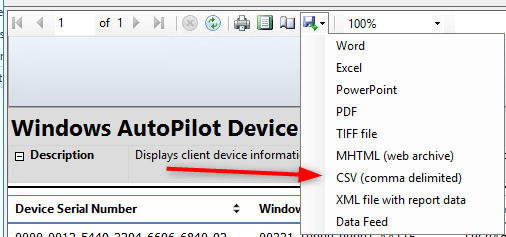
- The extracted CSV file must be edited before importing since the file header is incorrect.
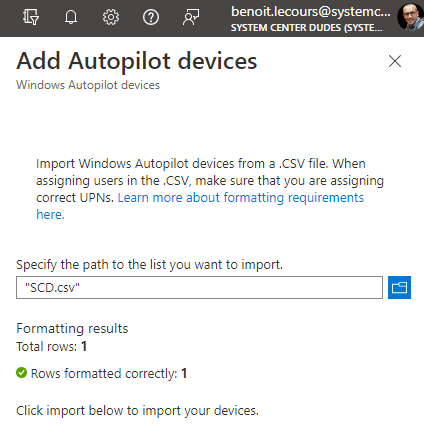
Import the file
Once your CSV file is ready, head back to the Endpoint Manager Portal, select your CSV file and select Import at the bottom
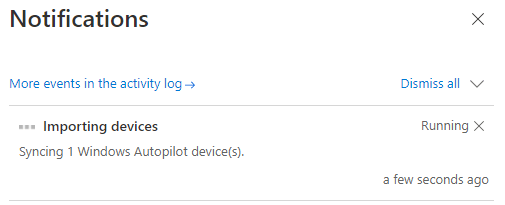
- You will receive an Import notification. It will take about 5-10 minutes
- Device is imported
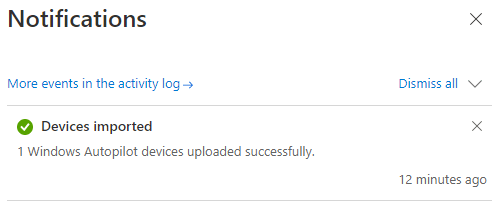
It will take a moment to show in your device list but will eventually appear. The device will also be visible from the Windows Store for Business portal. The device is now imported in Endpoint Manager and ready for Autopilot deployment.
The post Import Windows Devices for AutoPilot in Microsoft Endpoint Manager appeared first on System Center Dudes.